How to Verify Suspension Component OEM Equivalents
To verify suspension components, cross-check part numbers against manufacturer catalogs, confirm load and material specifications, review test reports, and validate fitment with technical drawings. This method ensures non-OEM parts meet original performance standards.
- Match part numbers, not just visual appearance, to confirm OEM compatibility.
- Verify load ratings and material grades against the original specification sheet.
- Request test reports and certification documents from the supplier.
- Use technical drawings to check bolt hole locations and mounting geometry.
Why Visual Inspection Is Not Enough
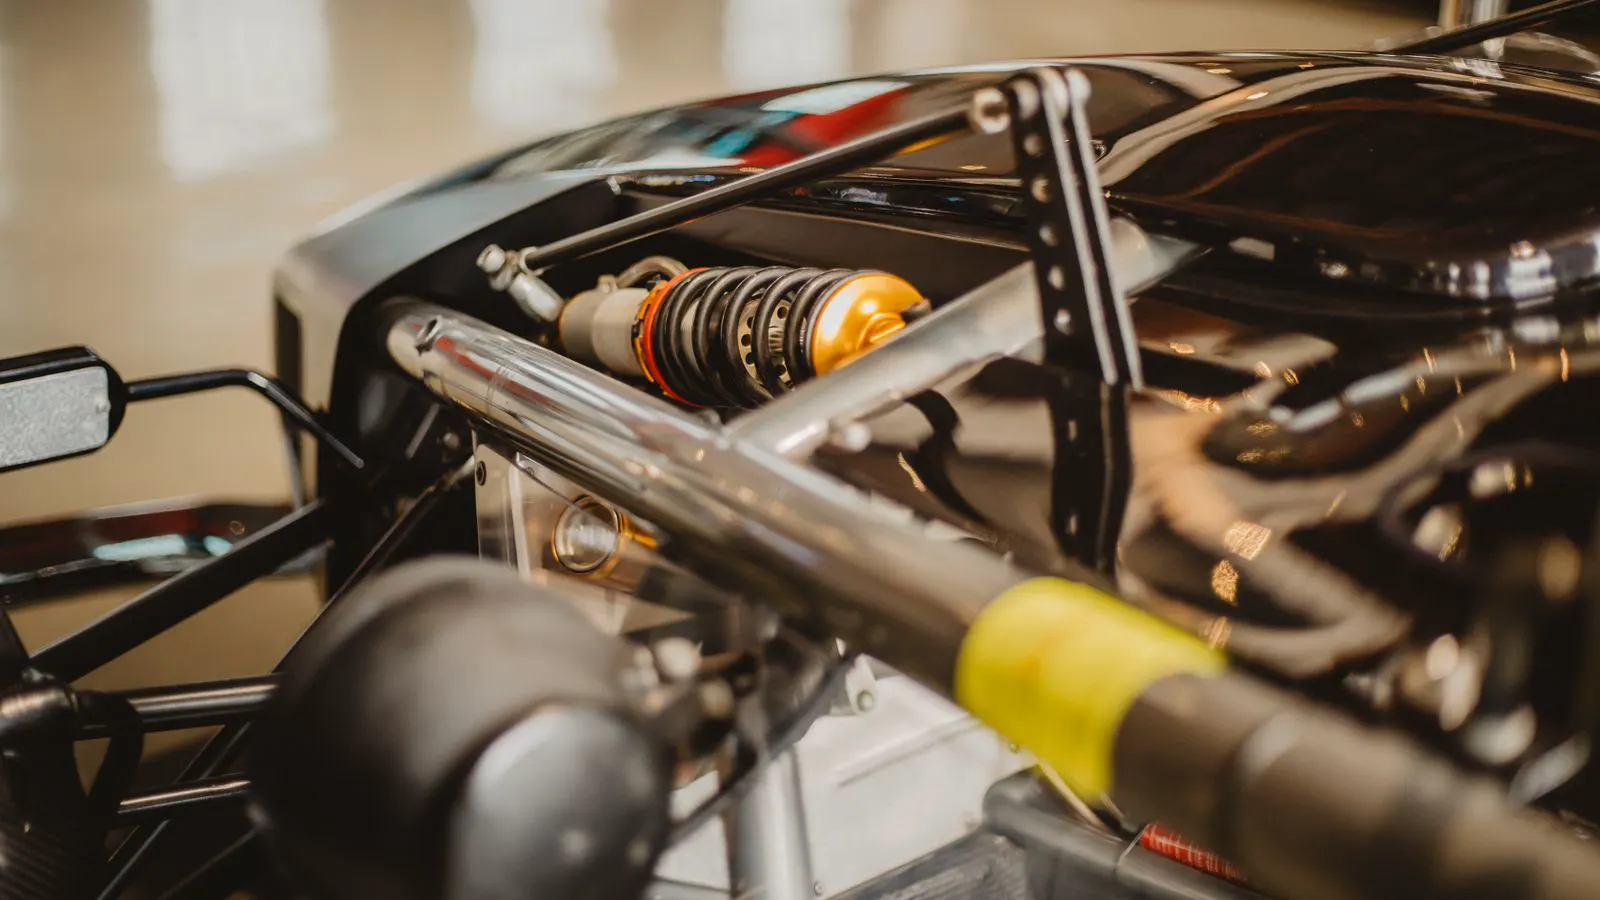
Suspension components fail in ways that are not visible from the outside. A control arm can look identical to the original but have incorrect bushing hardness or a lower fatigue limit. A coilover damper can have the same height and diameter yet deliver poor damping force. Buying based on photos or generic descriptions leads to premature wear, uneven tire wear, and safety issues.
The goal is to confirm that a replacement part performs at the same level as the original equipment. This requires a structured comparison of technical data, not just a part number match.
Prerequisites for Verification
Before you begin, gather the following documents and tools:
- The original OEM part number or catalog reference.
- Technical drawings or fitment guides from the vehicle manufacturer.
- Supplier specifications for the proposed replacement part.
- Test reports or certification documents from the supplier.
- A torque wrench and basic measuring tools for physical checks.
If you do not have the original part number, find it through the vehicle service manual or the part location guide. Do not rely on a supplier’s “compatible with” list alone. These lists are often broad and may include parts that fit physically but do not meet performance standards.
Step 1: Confirm Part Number Cross-Reference
Start by matching the supplier’s part number to the OEM reference. A correct cross-reference means the supplier has tested the fitment and function of the part. Ask for the cross-reference table in writing.
Check that the cross-reference covers the specific variant. Some suspension systems have left and right versions, or front and rear versions. A part that fits the driver side may not fit the passenger side if the geometry differs.
The reason for this step is that part numbers are the primary key for accuracy. Visual similarity is not a reliable indicator. A supplier may list a part as “compatible” when it only shares a similar shape.
Step 2: Compare Technical Specifications
Next, compare the technical specifications. This includes dimensions, materials, and load ratings.
For control arms, check the material grade. Many OEM parts use high-strength steel or cast aluminum. A lower-grade material may look the same but will fatigue faster. Ask for the material certificate if the supplier claims a specific grade.
For bushings, check the durometer rating. This measures hardness. A bushing that is too hard will transmit road noise. One that is too soft will allow excessive body movement. The OEM specification usually states a range. Stay within it.
For dampers, check the damping force curve. This is a graph showing how much resistance the damper provides at different speeds. A part that has a flatter curve will not control body motion well. Ask the supplier for the damping force test data.
The reason for this step is that specifications define performance. A part that meets dimensions but fails load requirements will not last.
Step 3: Review Test Reports and Certifications
Ask the supplier for test reports. These documents show how the part was tested after production. Look for fatigue test results, load testing, and corrosion testing.
For metal parts, fatigue testing is key. It shows how many cycles the part can withstand before failing. A higher number means better durability. Compare this to the OEM standard if available.
For bushings and seals, look for compression set testing. This measures how much the part deforms under load over time. A high compression set means the bushing will lose its shape and allow play.
Certifications such as ISO 9001 show that the manufacturer has a quality management system in place. They do not prove the part is good, but they indicate that the process is controlled.
The reason for this step is that test reports provide evidence. Claims are easy to make. Data is harder to fabricate and is more useful for decision making.
Step 4: Validate Fitment with Technical Drawings
Use the technical drawings to check physical fitment. Compare the bolt hole locations, mounting points, and clearances.
For a control arm, measure the distance between the ball joint and the chassis mount. A difference of even a few millimeters can change the wheel alignment. This will show up as tire wear or steering pull.
For a strut assembly, check the top mount and bottom mount dimensions. The top mount must fit the coilover spring and the upper chassis bracket. The bottom mount must fit the knuckle.
The reason for this step is that fitment errors cause installation problems. A part that is one millimeter off in height may not allow the spring to seat correctly. This can lead to binding and failure.
Step 5: Check Material and Surface Treatment
Inspect the material and surface treatment. For metal parts, look for welds, machining marks, and corrosion protection.
Welded control arms are common. Check the weld quality. Porosity or incomplete fusion in a weld is a weak point. Ask the supplier for a weld inspection report if the part is welded.
Surface treatment protects against rust. Powder coating is durable and resistant to impact. Zinc plating is cheaper but can chip. E-coat is a good base treatment. Ask what process the supplier uses.
The reason for this step is that material quality affects lifespan. A part with poor surface treatment will rust in a few years. A part with poor welding will fail under stress.
Step 6: Verify Bushing and Seal Quality
Bushings and seals are the soft parts of the suspension. They wear first. Check the material. Many OEM parts use polyurethane or rubber. Polyurethane is stiffer and lasts longer. Rubber is softer and quieter.
Check the durometer again. A supplier may use a different material than the OEM but claim it is “equivalent.” This is not true if the hardness is different.
For seals, check the compression set. A seal that deforms too much will leak. Ask for the test data.
The reason for this step is that soft parts are the most common failure point. They are also the most difficult to verify visually. Test data is the only reliable way to confirm quality.
Step 7: Confirm Alignment and Geometry
Suspension parts affect wheel alignment. A new part must maintain the original geometry. This includes caster, camber, and toe settings.
Check the mounting points. If the new part has a different hole location, the alignment will shift. This will require a wheel alignment after installation. If the shift is large, it may be impossible to correct without modifying the part.
The reason for this step is that alignment errors cause tire wear and handling issues. A part that fits physically but changes the geometry is not a true equivalent.
Common Mistakes in Verification
Buyers often make these mistakes when verifying suspension components:
- Relying on supplier descriptions instead of technical data.
- Ignoring left and right variations.
- Assuming that a higher price means better quality.
- Skipping the material grade check.
- Not checking the bushing durometer.
These mistakes lead to parts that do not perform as expected. The result is premature failure and additional cost.
Final Verification Step
Before you place the order, perform a final check. Compare the supplier’s specifications to the OEM data point by point. Create a simple table.
| Specification | OEM Value | Supplier Value | Match |
|---|---|---|---|
| Control arm material | High-strength steel | Grade 420 steel | Yes |
| Bushing durometer | 60 Shore A | 60 Shore A | Yes |
| Fatigue life | 100,000 cycles | 120,000 cycles | Yes |
| Bolt hole location | 52mm | 52mm | Yes |
| Surface treatment | Powder coat | Zinc plait | No |
If any value does not match, ask the supplier for an explanation. If the difference is acceptable, it is okay to proceed. If the difference is not acceptable, do not buy.
The reason for this step is to create a paper trail. If the part fails, you have evidence that you verified the specifications. This protects you from disputes.
Conclusion
Verifying suspension components requires more than checking a part number. It requires comparing technical data, reviewing test reports, and validating fitment. Use a structured method to ensure that non-OEM parts meet original manufacturer specifications. This approach reduces the risk of failure and ensures that your vehicle performs as intended.
Frequently asked questions
Can I use a generic suspension part if the OEM part is not available?
Yes, but only if you verify that the generic part meets the OEM specifications for load, material, and geometry. A part that looks the same is not necessarily equivalent.
How do I find the OEM part number for a suspension component?
Check the vehicle service manual, the part location guide, or the manufacturer's online catalog. You can also use the vehicle identification number to look up the specific part for your model and year.
What is the difference between a cross-reference and a fitment?
A cross-reference is a part number that is compatible with the OEM part. A fitment is the physical ability of the part to install in the vehicle. A cross-reference usually includes fitment, but not always.
Do I need a torque wrench to verify a suspension part?
No, a torque wrench is for installation. For verification, you need measuring tools to check dimensions and materials. A torque wrench is only needed when you are installing the part.
How long do suspension parts last?
This depends on the material, the driving conditions, and the maintenance. A well-made part can last for many years. A poor-quality part may fail in a few thousand miles.